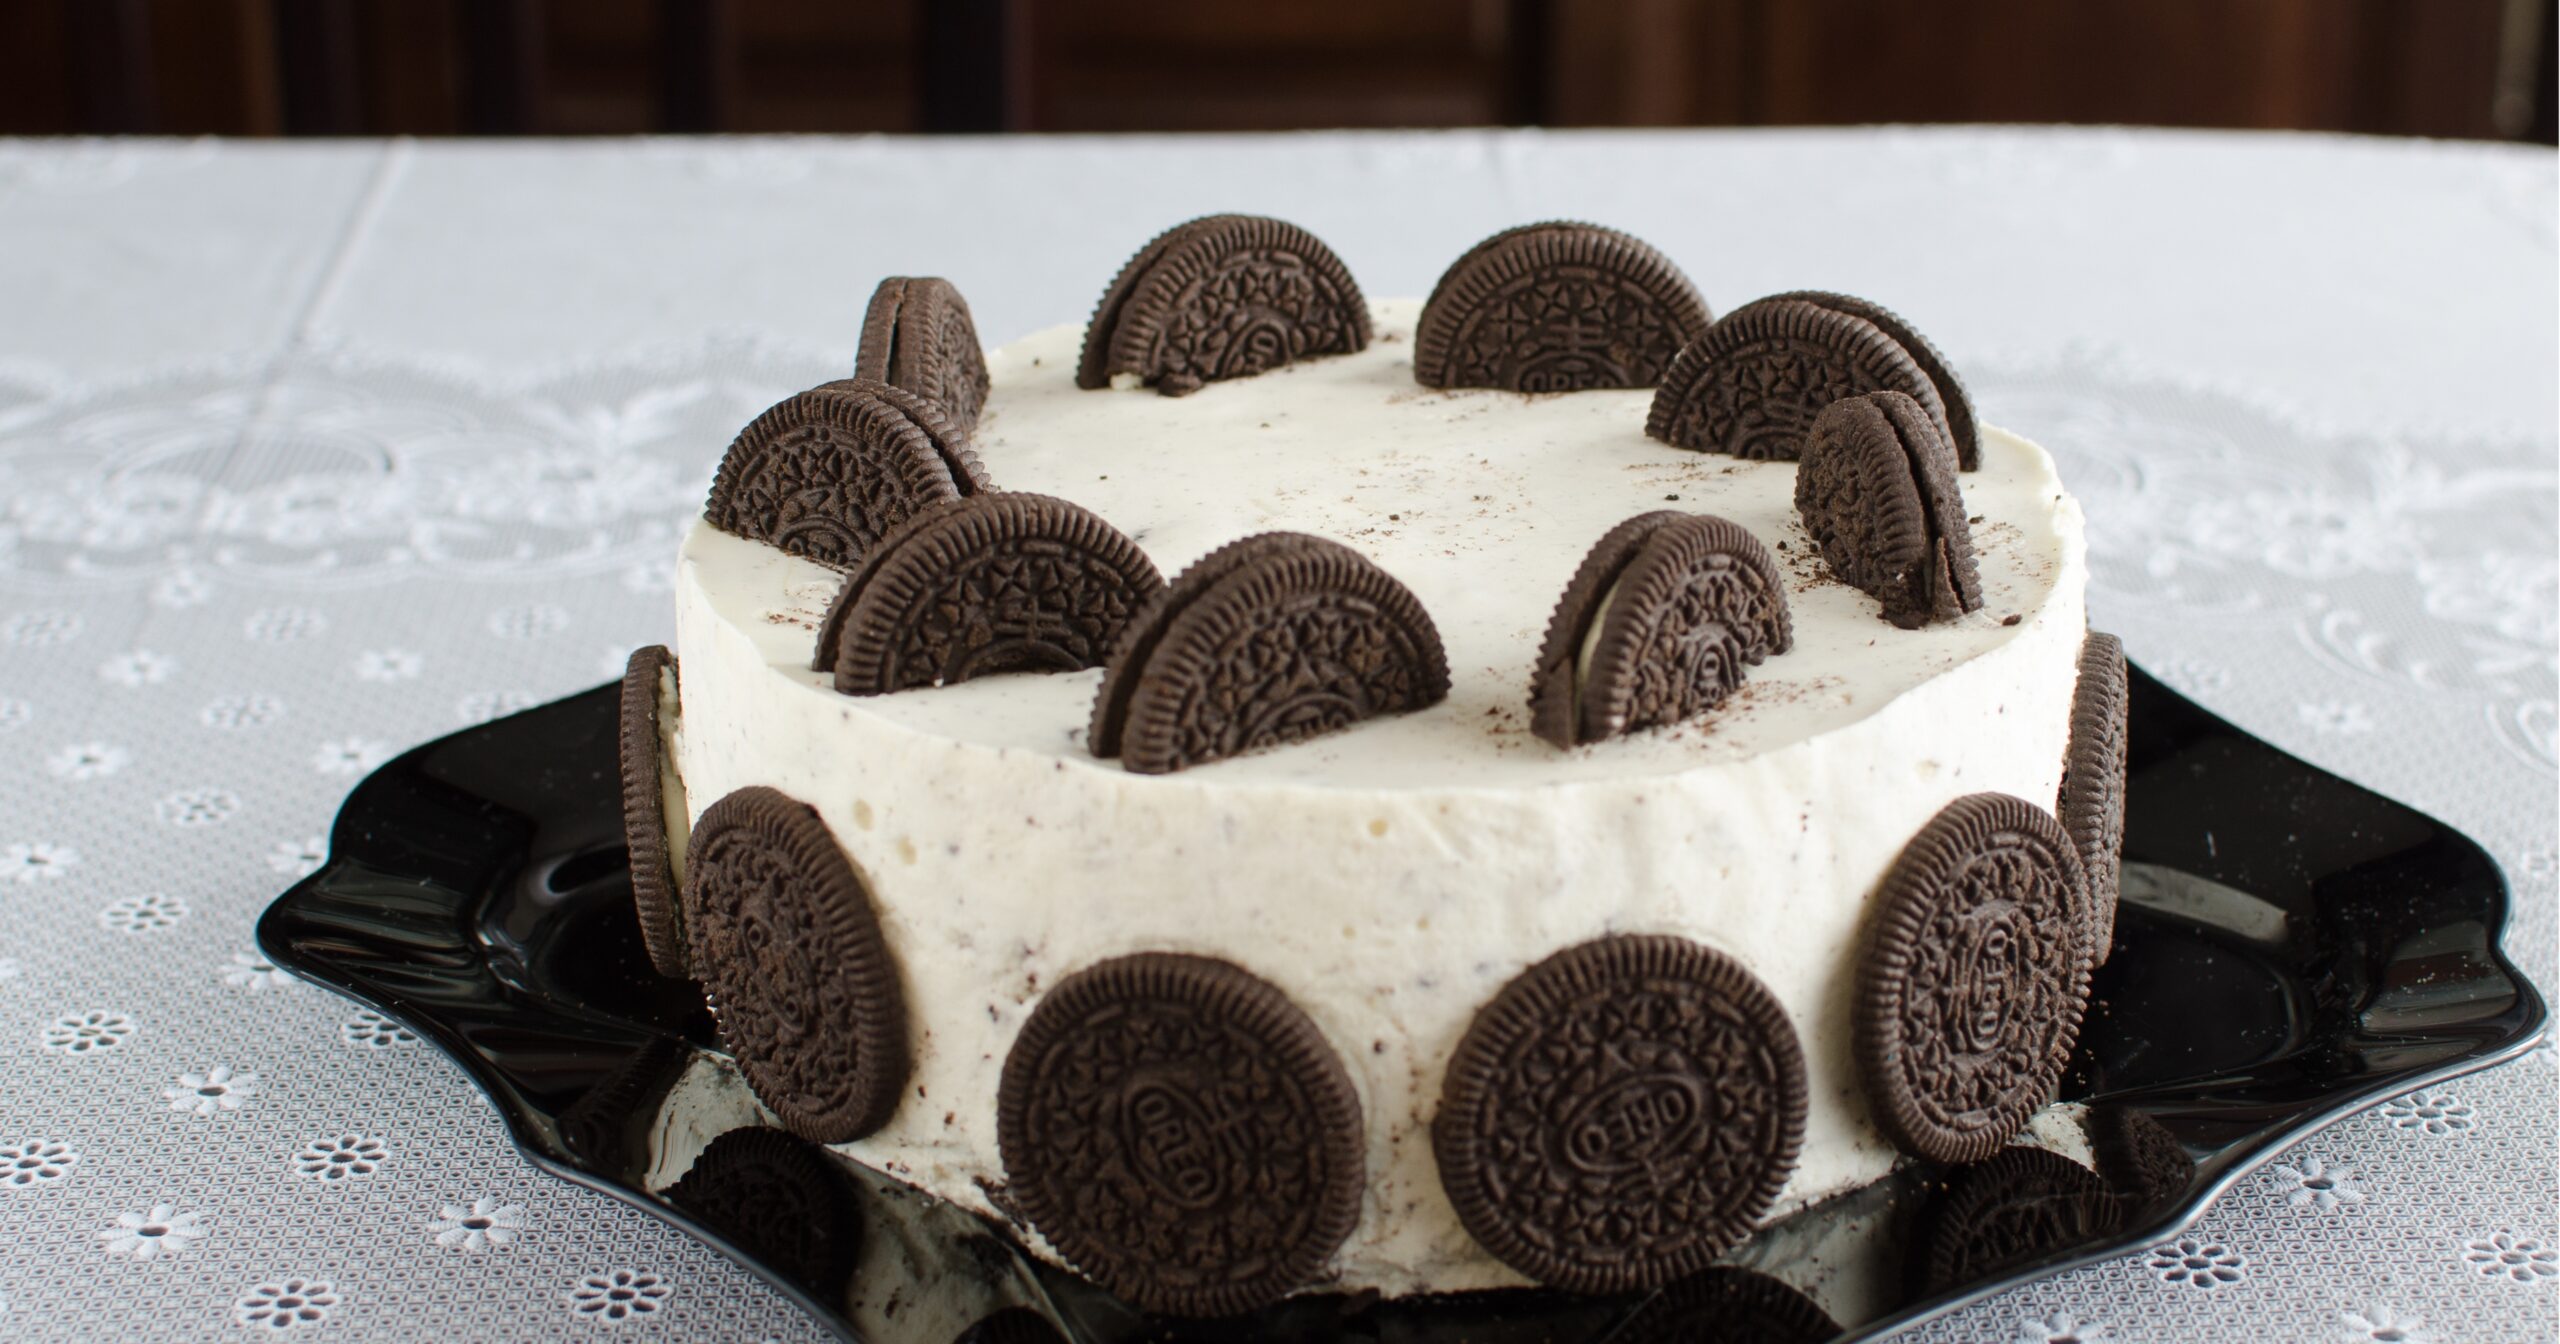
8-Ingredient No-Bake Oreo Pie Recipe: A Delicious, Easy Dessert Recipe
If you have a sweet tooth and love the taste of Oreos, you’re in for a treat! This No-Bake Oreo Pie is one of the easiest and most delicious desserts you can make. Perfect for gatherings, birthdays, or when you crave something sweet, this pie will disappear fast once it hits the table! Not only is it delicious, but it’s also a low-carb, keto-friendly version that doesn’t compromise on flavor. It’s made without refined sugar, making it a healthier choice for those following a low-carb or ketogenic diet
Making this pie is simple. You’ll start with a low-carb version of chocolate sandwich cookies for the crust, followed by a creamy filling made with whipped cream, cream cheese, and a few other keto-friendly ingredients. The best part? You don’t even need to bake it! Just pop it in the fridge for a couple of hours, and you’ll have a rich, creamy dessert that’s sure to impress. Whether it’s for the holidays or a casual family dinner, this pie is bound to become a new favorite.

Not only does this recipe fit well with a keto lifestyle, but it’s also a sugar-free and gluten-free option. With clean, wholesome ingredients, you can enjoy all the flavors of a traditional Oreo pie without the guilt. Let’s dive into the details of how to create this fantastic no-bake dessert
Ingredients:
- 1 (19.1-oz) package of chocolate sandwich cookies (use low-carb or sugar-free options)

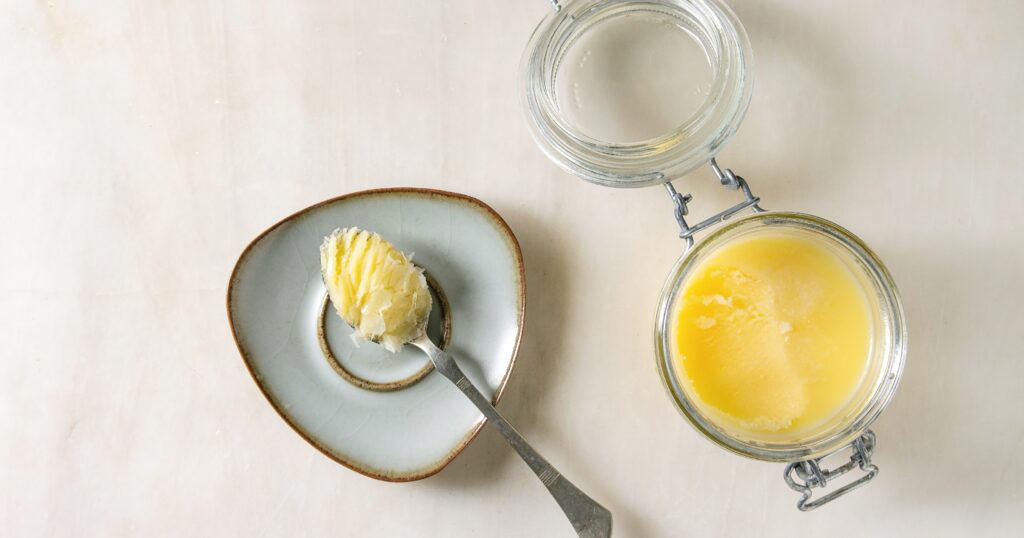
- 3 tablespoons butter, melted
- 1 cup heavy whipping cream
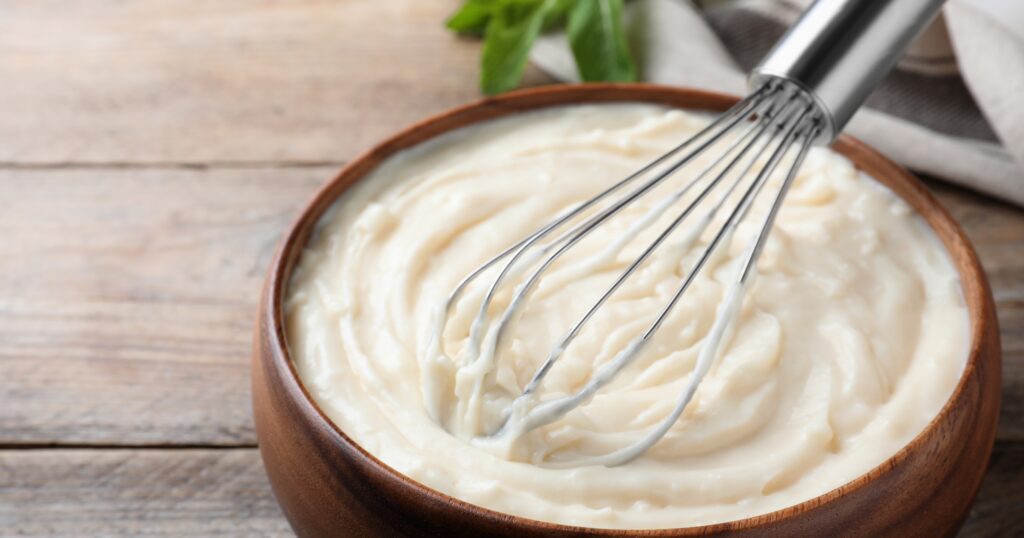
- 8 oz cream cheese, room temperature
- 1/4 cup sour cream, room temperature
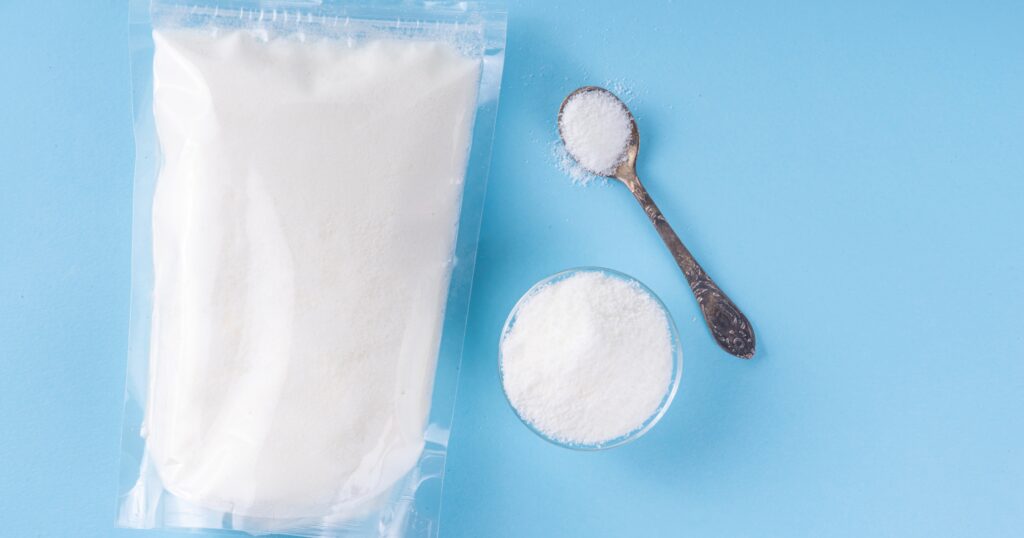
- 3/4 cup powdered sweetener (like allulose or your favorite keto-friendly sweetener)
- 1 teaspoon vanilla extract

- Sugar-free whipped cream for topping
Directions on How to Cook, No-Bake Oreo Pie:
Make the Crust:
- Start by adding most of your chocolate sandwich cookies (reserve about 5-8 cookies for later) to a blender or food processor and crush them until finely ground. Mix in the melted butter until the mixture resembles a dough-like consistency.
Prepare the Pie Dish:
- Lightly spray your pie dish with avocado oil (or any non-stick spray). Press the cookie mixture into the bottom of the dish, spreading it evenly to about ½ inch thickness. Place the crust in the refrigerator to chill while you prepare the filling
Whip the Cream:
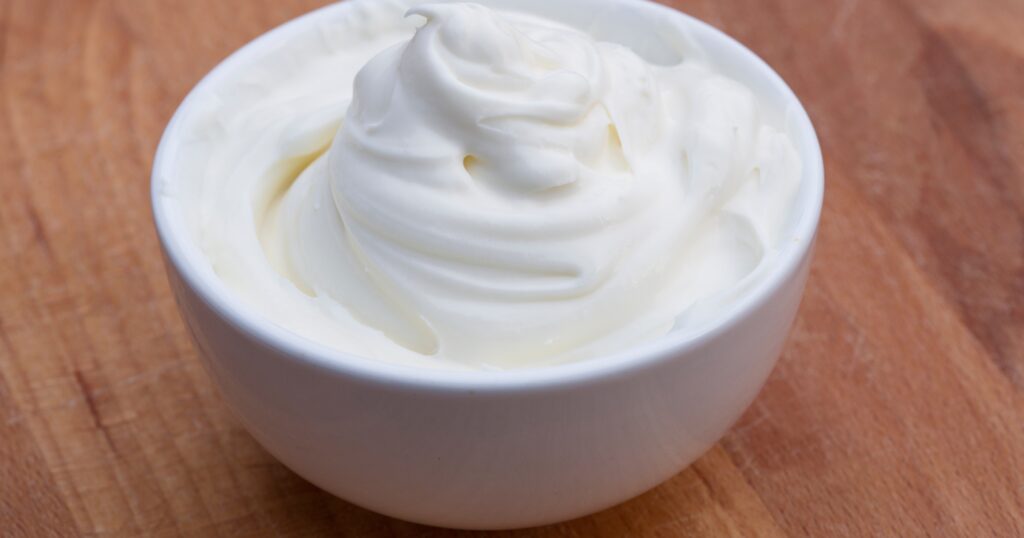
- In a large bowl, whip the heavy whipping cream until soft peaks form. This will help give your filling a light, fluffy texture.
Mix the Filling:
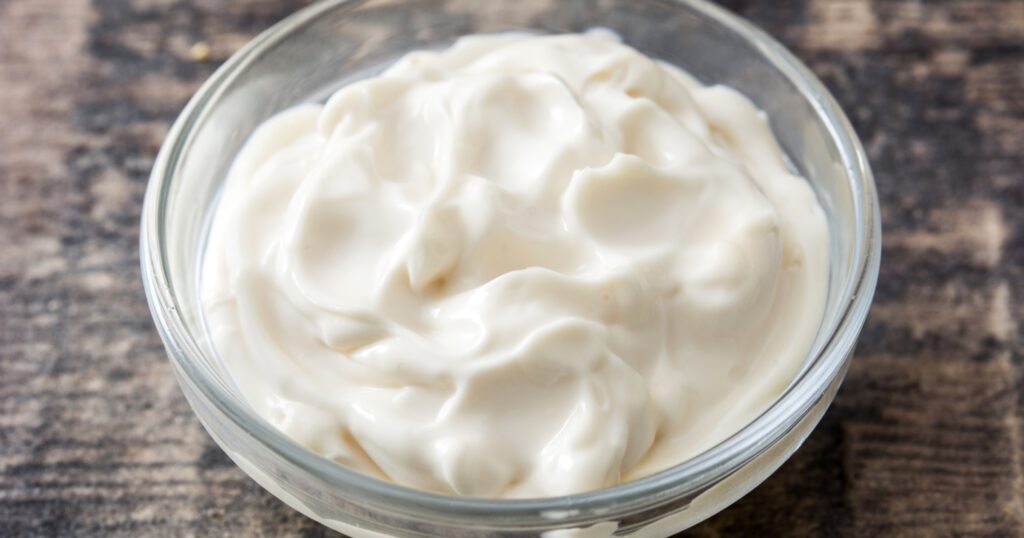
- In a separate bowl, combine the cream cheese, powdered sweetener, sour cream, and vanilla extract. Beat until the mixture is smooth and fluffy. Gently fold in the whipped cream, along with the leftover crushed cookies, to give the filling a nice Oreo crunch
Assemble the Pie:
- Take the chilled pie crust from the fridge and pour the filling into the crust. Smooth the top with a spatula to create an even layer. Cover the pie and refrigerate for at least 2-3 hours to let it set.
Add Finishing Touches:
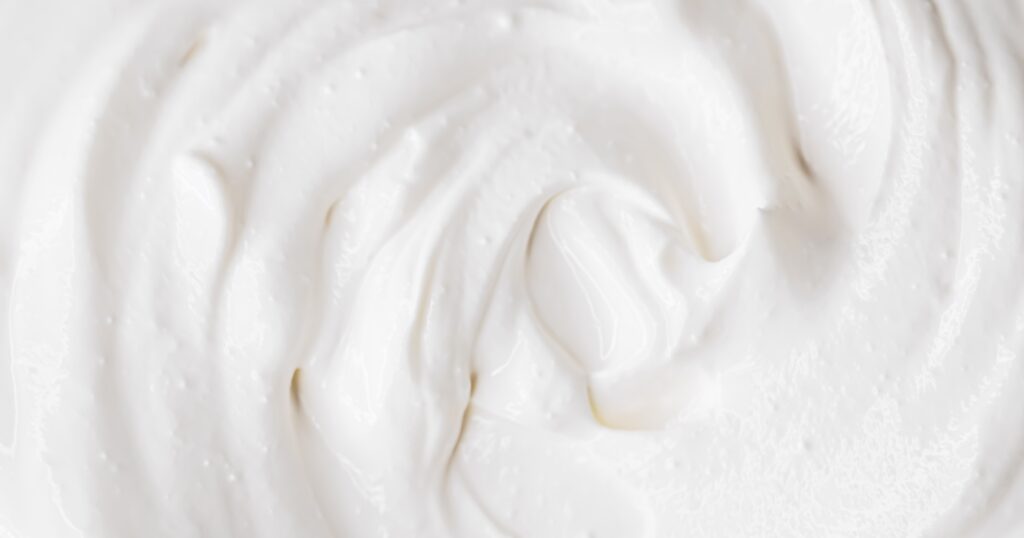
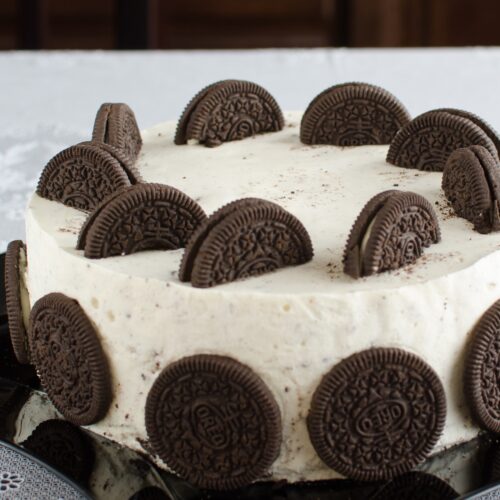
- Before serving, top the pie with sugar-free whipped cream and additional cookie pieces for decoration.
- Enjoy with family and friends, a delicious no-bake Oreo pie
No-Bake Oreo Pie: A Delicious, Easy Dessert Recipe
Equipment
- 1 Blender or Food Processor: For crushing the low-carb chocolate sandwich cookies
- 1 Pie Dish (9-inch): To press the cookie crust and assemble the pie.
- 1 Large Mixing Bowl: For whipping the heavy cream.
- 1 Medium Mixing Bowl: For mixing the cream cheese, sweetener, sour cream, and vanilla.
- 1 Electric Hand Mixer or Stand Mixer: To whip the cream and mix the filling ingredients.
- 1 Rubber Spatula: To smooth the filling in the pie dish.
- Measuring Cups and Spoons: For measuring out the ingredients.
- Plastic Wrap or Cover: To cover the pie while it chills in the fridge.
Ingredients
- 1 (19.1-oz) package of chocolate sandwich cookies (use low-carb or sugar-free options)
- 3 tablespoons butter, melted
- 1 cup heavy whipping cream
- 8 oz cream cheese, room temperature
- ¼ cup sour cream, room temperature
- ¾ cup powdered sweetener (like allulose or your favorite keto-friendly sweetener)
- 1 teaspoon vanilla extract
- Sugar-free whipped cream for topping
Instructions
Make the Crust:
- Start by adding most of your chocolate sandwich cookies (reserve about 5-8 cookies for later) to a blender or food processor and crush them until finely ground. Mix in the melted butter until the mixture resembles a dough-like consistency.
Prepare the Pie Dish:
- Lightly spray your pie dish with avocado oil (or any non-stick spray). Press the cookie mixture into the bottom of the dish, spreading it evenly to about ½ inch thickness. Place the crust in the refrigerator to chill while you prepare the filling.
Whip the Cream:
- In a large bowl, whip the heavy whipping cream until soft peaks form. This will help give your filling a light, fluffy texture
Mix the Filling:
- In a separate bowl, combine the cream cheese, powdered sweetener, sour cream, and vanilla extract. Beat until the mixture is smooth and fluffy. Gently fold in the whipped cream, along with the leftover crushed cookies, to give the filling a nice Oreo crunch
Assemble the Pie:
- Take the chilled pie crust from the fridge and pour the filling into the crust. Smooth the top with a spatula to create an even layer. Cover the pie and refrigerate for at least 2-3 hours to let it set.
Add Finishing Touches:
- Before serving, top the pie with sugar-free whipped cream and additional cookie pieces for decoration.
Notes
- Nutrition per Slice (Yields 8 Slices):
Calories: 337
Fat: 31g
Protein: 7g
Total Carbs: 33g
Net Carbs: 11g
Final Thoughts:
This No-Bake Oreo Pie is the ultimate dessert for anyone looking for a simple yet indulgent treat. With its rich, creamy filling and crunchy cookie crust, it’s hard to believe this dessert is low-carb and keto-friendly! It’s perfect for satisfying sweet cravings without sacrificing your diet. Try it out at your next family gathering or holiday party—it’s sure to be a hit!
If you enjoyed this recipe, be sure to share it with friends and family, especially those following a low-carb or keto lifestyle. And don’t forget to add your toppings for that personal touch!